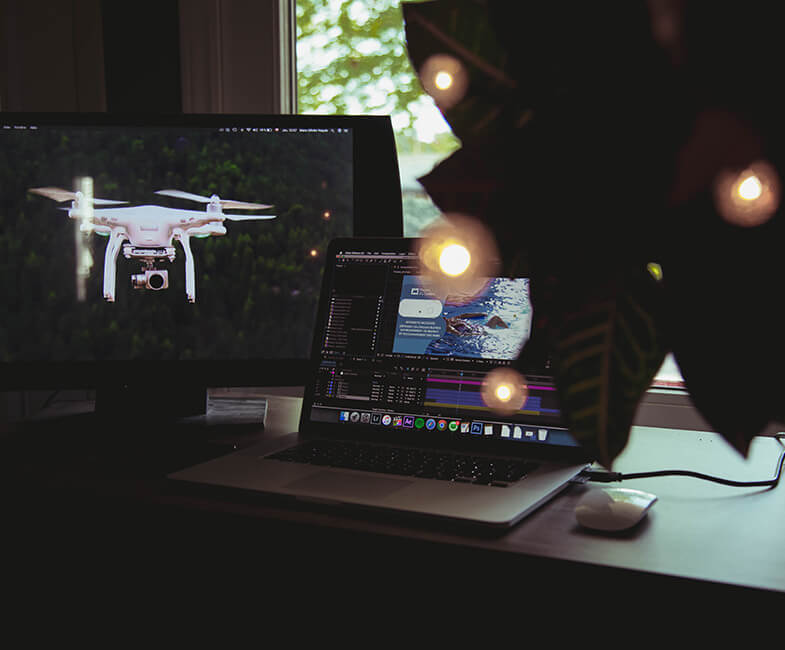
Editing aerial photography and regular photos is the same. The only difference here is the subject matter. Most of the photos taken through aerial photography have a marketing component. This means that they will be used for promotional and advertising purposes.
Those photos have a different set of requirements. There is also often no human subject when it comes to aerial photos. This allows photographers and videographers to be a bit more creative with retouching the photos.
When it comes to human subjects, we cannot retouch them completely or go overboard because they still have to look natural. With landscapes and other subjects, we can have more freedom with colors and toning.
The first thing you need to do if you want to retouch your photos is change the camera settings before the shoot. Make sure that the settings of your camera will produce RAW photos and not JPEGs.
RAW files give us more information about the photos, allowing for much editing. You should also shoot in manual, and not automatic. To set your camera to RAW, simply go to the settings and select RAW or RAW + JPEG if you want to have both types of files.
Profile corrections
Always start with this. Check the boxes for “remove chromatic aberration” and “enable profile corrections.” This gets rid of chromatic aberration, lens distortion, and vignetting that could have happened while the photos are being taken from the air.
Lightroom, which is our preferred editing software, will also tell you which lens is used in the photos if they are in RAW settings. You can choose the necessary lens correction and click “Manual” to decide how much you want to change.
Basic corrections
The most basic of editing tools can set the characteristics of the photos right. Here, you can adjust the temperature and tint (white balance), the exposure, the contrast, highlights, shadows, clarity, vibrance, and saturation.
The trick here is to pull the slider too far on either direction so you can see how the photos will look like with too much contrast or too little contrast, for example. After which, you can find a middle ground that will work best for the photos.
As the artistic director of these photos, you can choose two or more different settings and have your clients choose from a warm tone or a cool tone.
Color toning
Here is where you can really change and fine-tune the colors of the photos. Just make sure your photos won’t look unrealistic after. You can change the hue, saturation, and luminance. Keep moving that slider until you find the look that you are searching for.

